
Images are very important in most of the applications and many applications are based on only images. Presenting the images beautifully gives a very good user experience.
The default widgets we use to display the images Image.asset or Image.network do not have border property. To display border around an image, we can use a container.
example:
body: Center(
        child: Column(
          children: [
            const Text('Working with Images'),
            const Divider(height: 1,),
            Container(
              height: 300,
              margin: const EdgeInsets.all(20),
              decoration: BoxDecoration(
                border: Border.all(color: Colors.blue, width: 10 ),
              ),
              child: Image.asset('assets/Sample_3.jpg'),
            )
          ],
        ),
      ),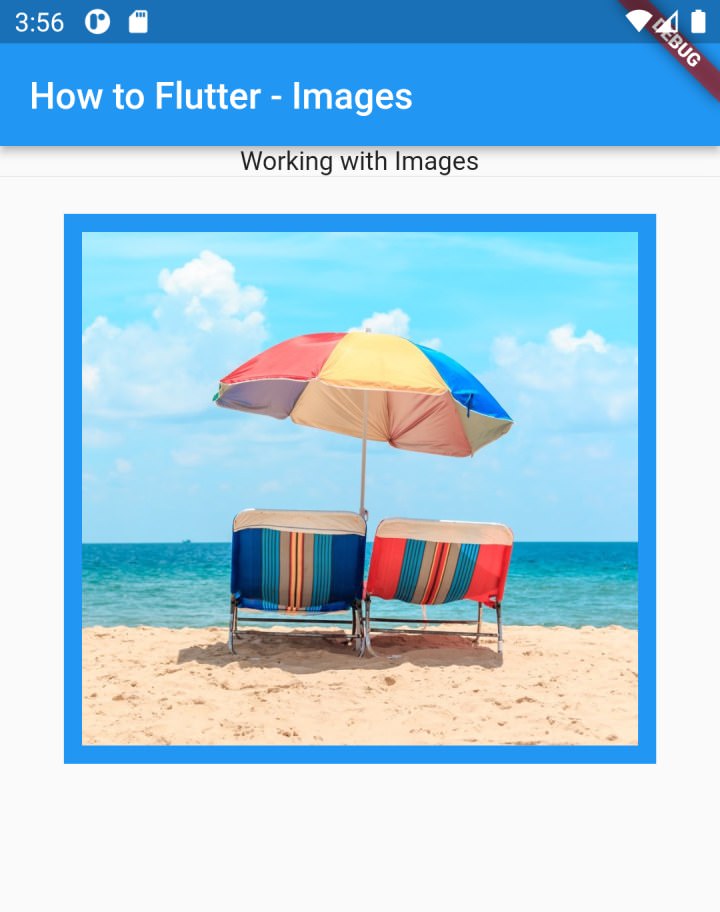
In the above example we used to container and used its decoration property to design a border around an image. In this example,t he image is a child to the Container widget. Instead of this, we can also use image property of decoration. When we use this, then the image works like a background image for the Container. If there is no child to Container, then we see only the image.
example:
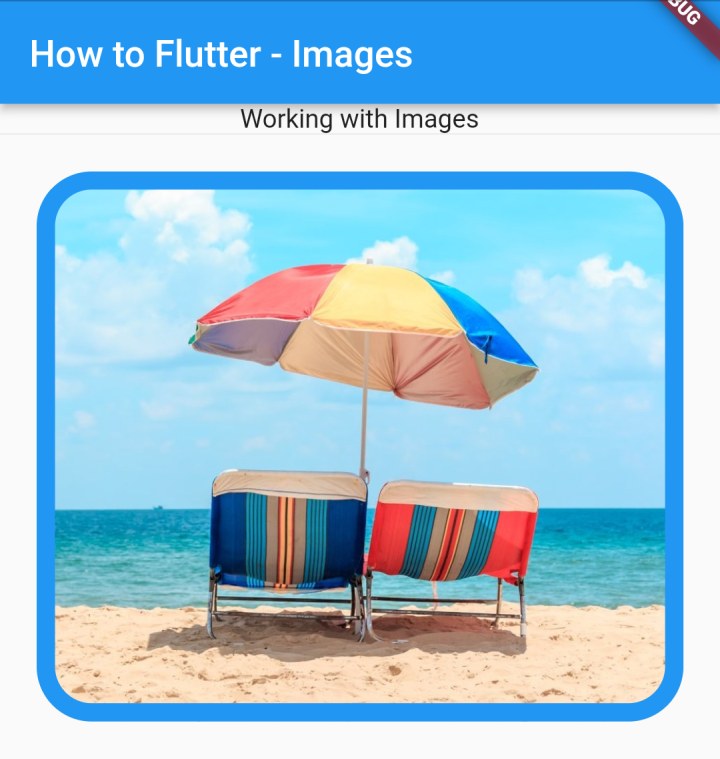
Container(
              height: 300,
              margin: const EdgeInsets.all(20),
              decoration: BoxDecoration(
                image: const DecorationImage(
                  image: AssetImage('assets/Sample_3.jpg'),
                  fit: BoxFit.cover
                ),
                border: Border.all(color: Colors.blue, width: 10 ),
              ),
            )
Adding Curved / Circle Border to Image in Flutter
We can use the borderRadius property of decoration to add a border to the image.
example:
Container(
              height: 300,
              margin: const EdgeInsets.all(20),
              decoration: BoxDecoration(
                image: const DecorationImage(
                  image: AssetImage('assets/Sample_3.jpg'),
                  fit: BoxFit.cover
                ),
                border: Border.all(color: Colors.blue, width: 10 ),
                borderRadius: BorderRadius.circular(30)
              ),
            )
We can remove the border property in the previous example to show only the image with curves and no border color.
example:
Container(
              height: 300,
              margin: const EdgeInsets.all(20),
              decoration: BoxDecoration(
                image: const DecorationImage(
                  image: AssetImage('assets/Sample_3.jpg'),
                  fit: BoxFit.cover
                ),
                borderRadius: BorderRadius.circular(30)
              ),
            )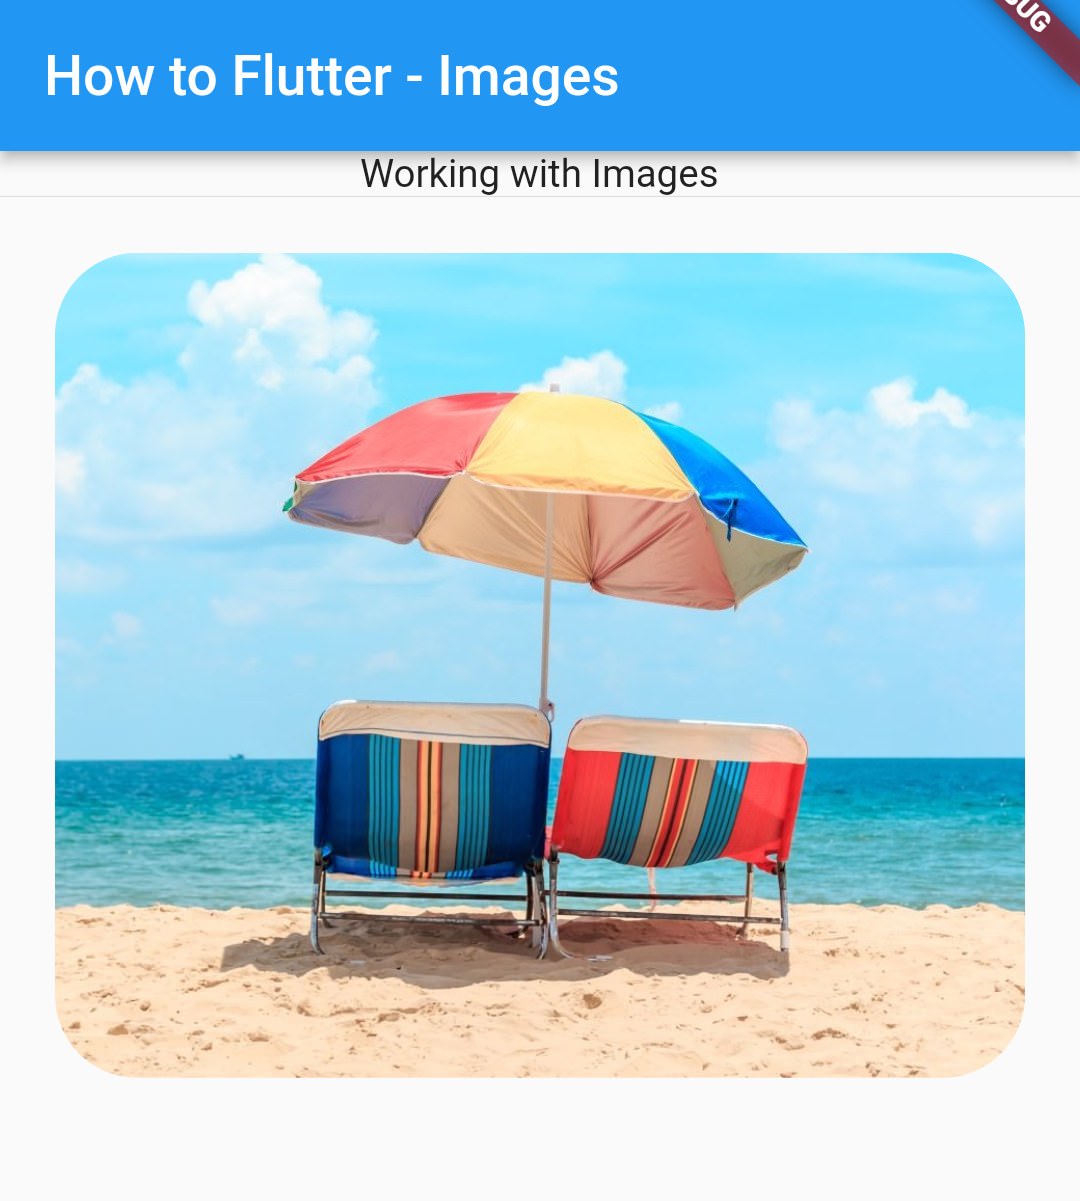
Note that, if you make your Image, a child of container, then the image may overlap with border or border radius and you may not see the effect.
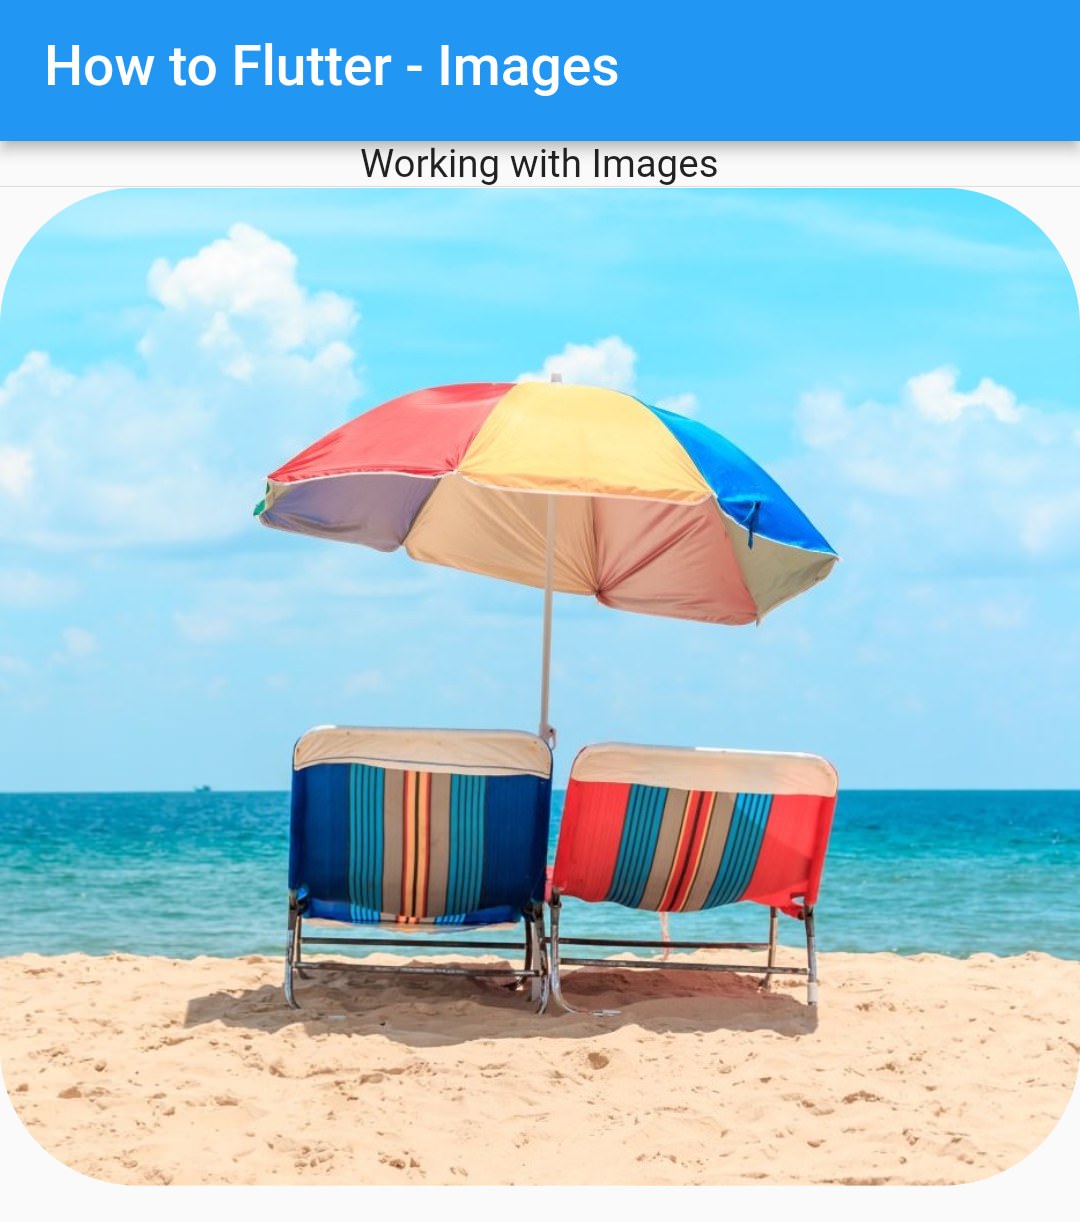
By Clipping using ClipRRect & ClipOval
We can use the ClipRRect widget to clip an image by giving borderRadius property to the widget.
example:
Column(
          children: [
            const Text('Working with Images'),
            const Divider(height: 1,),
            ClipRRect(
              borderRadius: BorderRadius.circular(50),
              child: Image.asset('assets/Sample_3.jpg',),
            )
          ],
        ),
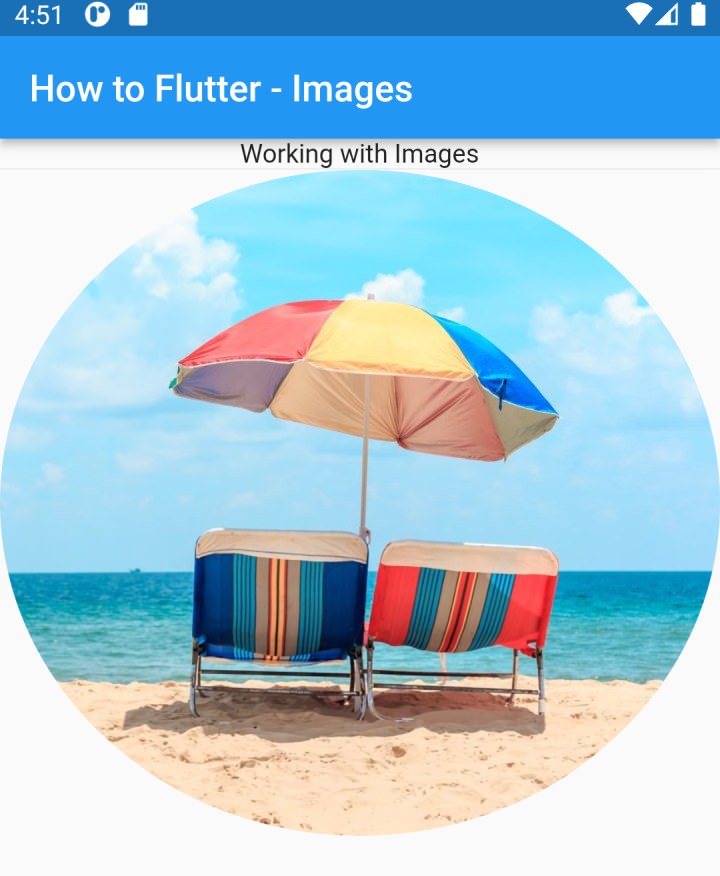
Instead of ClipRRect, where we can pass radius of each corner, we can also use another widget ClipOval.
example:
Column(
          children: [
            const Text('Working with Images'),
            const Divider(height: 1,),
            ClipOval(
              child: Image.asset('assets/Sample_3.jpg', ),
            )
          ],
        ),
If the image is small or an icon, we can use CircleAvatar widget also. We mostly use this widget to display small images.
These are some of the ways to make an image have a border and border radius and definitely not the Only ways.